PRODUCT INFO PAGES
Aquarella
Desktop Info | iPhone Info | iPad Info
Artista Haiku
Mac Info | iPhone Info | iPad Info
Artista Oil
Mac Info | iPhone Info | iPad Info
Artista Sketch
Mac Info | iPhone Info | iPad Info
Dramatic Black & White
Mac Info | iPhone Info | iPad Info
Grungetastic
Mac Info | iPhone Info | iPad Info
Hand Tint
Kyoobik Photo
Mac Info | iPhone Info | iPad Info
Moku Hanga - Wood Cut
Mac Info iPhone Info | iPad Info
NIR Color
Mac Info | iPhone Info | iPad Info
Pop Dot Comics
Mac Info | iPhone Info | iPad Info
Portrait Painter
Mac Info | iPhone Info | iPad Info
Rainy Daze
Mac Info | iPhone Info | iPad Info
Romantic Photo
Mac Info | iPhone Info | iPad Info
Simply HDR
Desktop Info | iPhone Info | iPad Info
Snow Daze
Mac Info | iPhone Info | iPad Info
Vintage Scene
Mac Info | iPhone Info | iPad Info
Vintage Scene Video


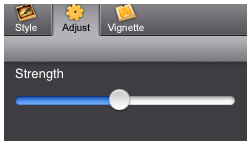
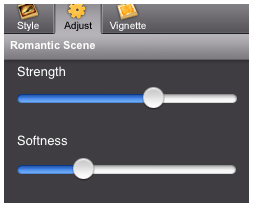
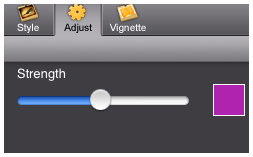
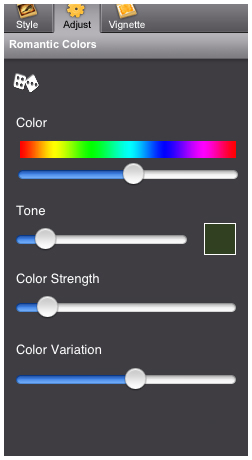
PresetsPressing the "Style" button will present to you a menu with a list of romantic styles. The styles are divided into eleven categories with presets under each title. Choosing a preset will apply these attributes to your image. Heavenly Detail
Dreamy Photo
Romantic Scene
Morning Light
Captured Moments
Warm Glow
Day Dream
Soft Touch
Golden Memories
Romantic Colors
Heavenly Photo
Manage PresetsYou can save your own custom preset by going to the "Save" button then choosing the "Save Preset" option off the list. To delete a preset, use the blue edit button (+) found on the lower right of the presets panel. Delete individual presets by clicking on the red delete button. 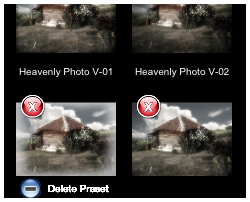 QUESTIONSPlease contact us using the form on the CONTACT PAGE. [ BACK TO THE TOP ]
|