PRODUCT INFO PAGES
Aquarella
Mac Info | iPhone Info | iPad Info
Artista Haiku
Mac Info | iPhone Info | iPad Info
Artista Oil
Mac Info | iPhone Info | iPad Info
Artista Sketch
Mac Info | iPhone Info | iPad Info
Dramatic Black & White
Mac Info | iPhone Info | iPad Info
Grungetastic
Mac Info | iPhone Info | iPad Info
Hand Tint
Kyoobik Photo
Mac Info | iPhone Info | iPad Info
Moku Hanga - Wood Cut
Mac Info iPhone Info | iPad Info
NIR Color
Mac Info | iPhone Info | iPad Info
Pop Dot Comics
Mac Info | iPhone Info | iPad Info
Portrait Painter
Mac Info | iPhone Info | iPad Info
Rainy Daze
Mac Info | iPhone Info | iPad Info
Romantic Photo
Mac Info | iPhone Info | iPad Info
Simply HDR
Desktop Info | iPhone Info | iPad Info
Snow Daze
Mac Info | iPhone Info | iPad Info
Vintage Scene
Mac Info | iPhone Info | iPad Info
Vintage Scene Video

|

Top Bar Buttons Get Photo: Load a photo from your hard drive. Tools Erase: Remove the effect on specific parts of the image. Press and hold Spacebar to switch to the Move tool Add: Add back the effect that was removed by the Erase Tool Reset: Resets the image to before The Brush Tools was used Brush Size: Change the diameter of The Brush Tools Opacity: Change the opacity of the Brush Tools Menu FileGet Photo: Load a photo from your or hard drive. Save Photo: Save the image to your or hard drive. Save Preset: Once you've created an effect you can use this option to save all the attributes and reuse them on another picture. Preferences: Change where the application will save your image and rebuild presets that came with the product. EditUndo: Undo your last edit. Redo: Redo your last edit that was undone. WindowZoom In: Zoom in on areas of the image Zoom Out: Zoom Out to view a larger proportion of the image Fit In Window: Fill the window with the image Actual Size: Changes the images size to its original size HelpJixipix Info: Brings you to this page Jixipix Products: Takes you to our website where you can view all our apps |


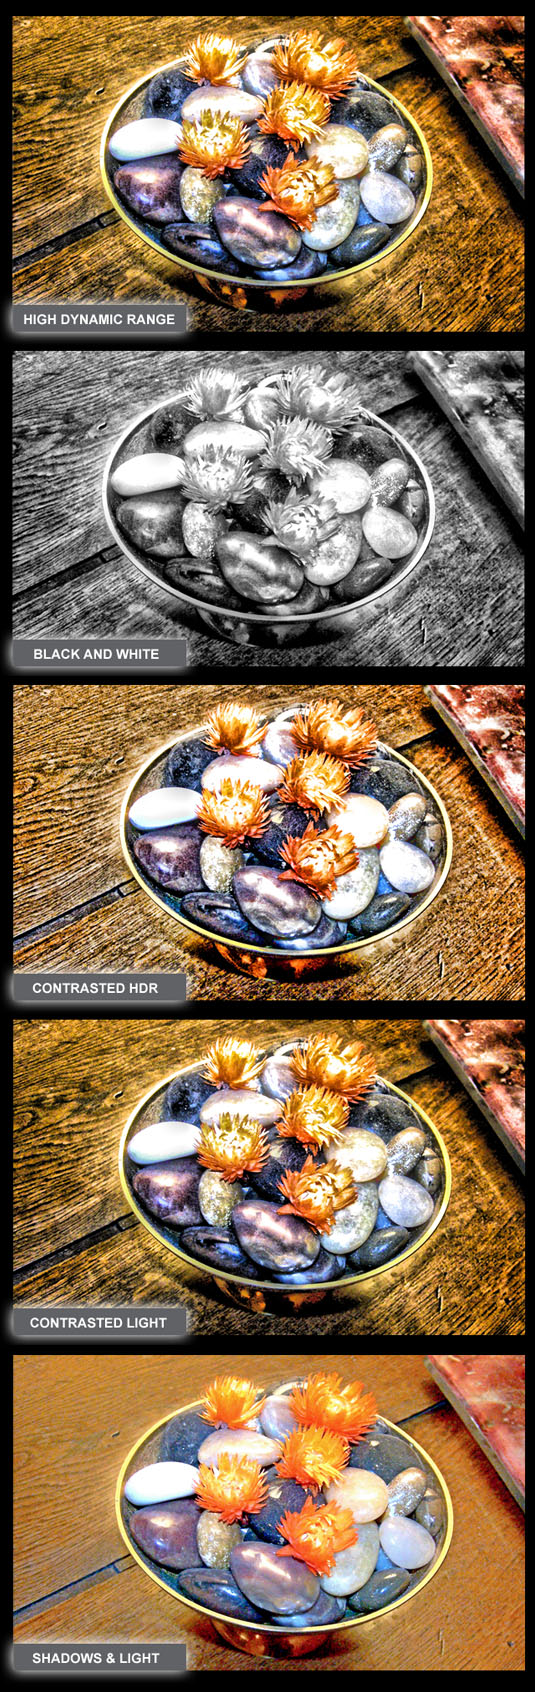

CustomizeYou can use the Adjustment Tab to customize your picture. The Adjustment Tab changes depending on which Preset Style you have chosen. HDR and Contrasted HDR use the same adjustments
[ BACK TO THE TOP ]
|
||||||||||||


